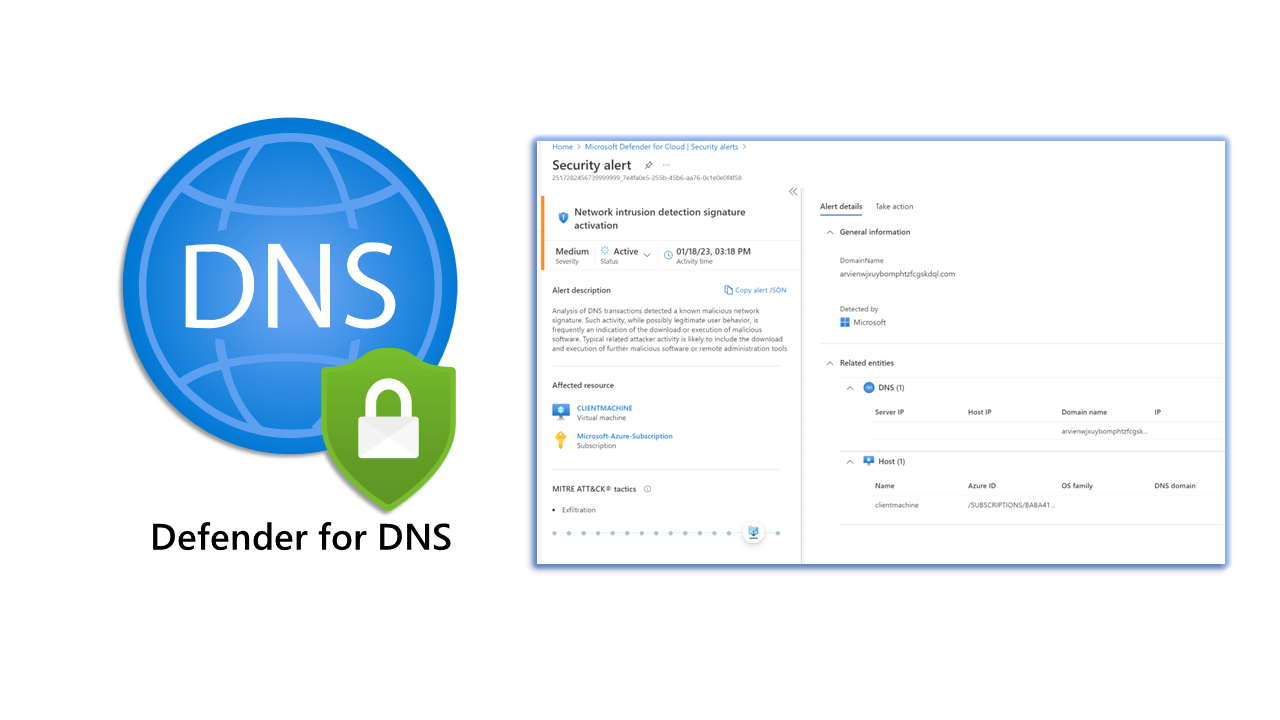
Using Microsoft Defender for DNS

I never understood Defender for DNS's usefulness before writing this blog. Microsoft Defender for DNS provides another layer of protection for resources that utilise Azure DNS's Azure-provided name resolution capability.
The Defender for DNS service can monitor the queries from resources, detecting suspicious activities without requiring additional agents. It's beneficial in the following areas.
- Data exfiltration from your Azure resources using DNS tunnelling
- Malware communicating with command and control servers
- DNS attacks - communication with malicious DNS resolvers
- Contact with domains used for malicious activities such as phishing and crypto mining
Let's set up Defender for DNS. First, you need to ensure it's enabled on the subscription. This can be done by going to Microsoft Defender for Cloud in the Azure portal.

The Microsoft Defender for Cloud overview will provide your security posture and compliance information. Select the environment settings option.

Select the Azure subscription you would want to enable for Defender for DNS.

Enable the Defender for the DNS plan and save the settings. This will enable the plan for the subscription.

To confirm that our Defender for DNS plan is working correctly, we want to get emails when a security alert has been created. We will also want to store this information in a Log Analytics Workspace.
Select the email notifications tab on the same settings page.

Our configuration can be seen below. We've set that the subscription owner will be notified of Microsoft Defender for Cloud alerts. I've included my email address, which will also get the notifications.
I've configured the notification type to be low; this means I will get emails for low, medium and high alerts.

To export these notifications to a Log Analytics Workspace, select the continuous export settings on the same tab.

Select your Log Analytics Workspace, and ensure you capture all security alerts.

Now we've set up Defender for DNS, let's provide an overview of our existing environment. You can see a high-level diagram below. We have a basic setup for our demo, a virtual network, one subnet and a virtual machine.

First, to confirm, our DNS settings are Azure using the defaults. This is important and needs to be configured.

Logging into the virtual machine in that virtual network in our diagram and running the ipconfig /all command, we again can confirm that Azure-provided DNS is being used.
Whenever you see the IP address 168.63.129.16 - always think of Azure DNS. This IP address is important to understand in Azure. Microsoft has provided an excellent overview: What is IP address 168.63.129.16? | Microsoft Learn

We need to perform some DNS queries to sites participating in malicious behaviour, such as malware, data exfiltration, etc. Microsoft has provided another blog which allows us to test and validate that Defender for DNS is working: Validating Microsoft Defender for DNS Alerts - Microsoft Community Hub.
We will use the sites mentioned in this article within our environment and confirm we get alerts. Go back to the virtual machine and perform name resolution to sites flagged as malicious.
Resolve-DnsName bbcnewsv2vjtpsuy.onion.to
Resolve-DnsName all.mainnet.ethdisco.net
Resolve-DnsName micros0ft.com
Resolve-DnsName 164e9408d12a701d91d206c6ab192994.info  -ErrorAction Ignore
You can also run this PowerShell script which will generate random names and attempt to resolve them using DNS to IP addresses.
For($i=0; $i -le 1000; $i++) {
$rand = -join ((97..122) | Get-Random -Count 63 | % {[char]$_})
Resolve-DnsName "$rand.contoso.com" -ErrorAction Ignore
}
If you try to run these commands multiple times on the same VM, you will not receive numerous alerts unless you flush your local DNS using ipconfig /flushdns.
The first alerts do seem to take a while to come through. However, I could view them in Microsoft Defender for Cloud when they did.

Expanding into one alert - I can view additional information about the alert.

We can also now use this data in a Log Analytics Workspace. The data is available in the SecurityAlert table. We set the data to be exported through Microsoft Defender for Cloud at the blog's beginning.
I've created a basic query below that provides a quick overview of the alert, the comprised entity and the domain.

SecurityAlert
| where CompromisedEntity == "CLIENTMACHINE"
| extend domainName = parse_json(ExtendedProperties).DomainName
| project TimeGenerated, AlertName, CompromisedEntity, domainName
If you configure email alerts, you will also receive an email from Microsoft Defender for Cloud. I've included an example below.

I feel like this service is often missed but is useful. Thanks for reading this shorter blog, and if you want help or have any questions, please feel free to reach out. Remember, you can connect with me below.