Migrate to Azure Files using Robocopy
This blog will be the first of a few about migrating from Windows server file shares to Azure Files. In this blog, we will be looking at using Robopy to achieve this migration.
Many customers are looking to modernise their file shares in some way, whether moving them to the cloud or setting up hybrid scenarios and storing data on-premises and in Azure.
Our customer scenario is simple; our customer has a file server running on-premises and wants to migrate it to Azure. They have a few other requirements:
- We are replacing a Windows file server, so we need to ensure that we can replicate the NTFS\Windows ACL permissions already configured.
- Users need to authenticate through Active Directory Doman Services.
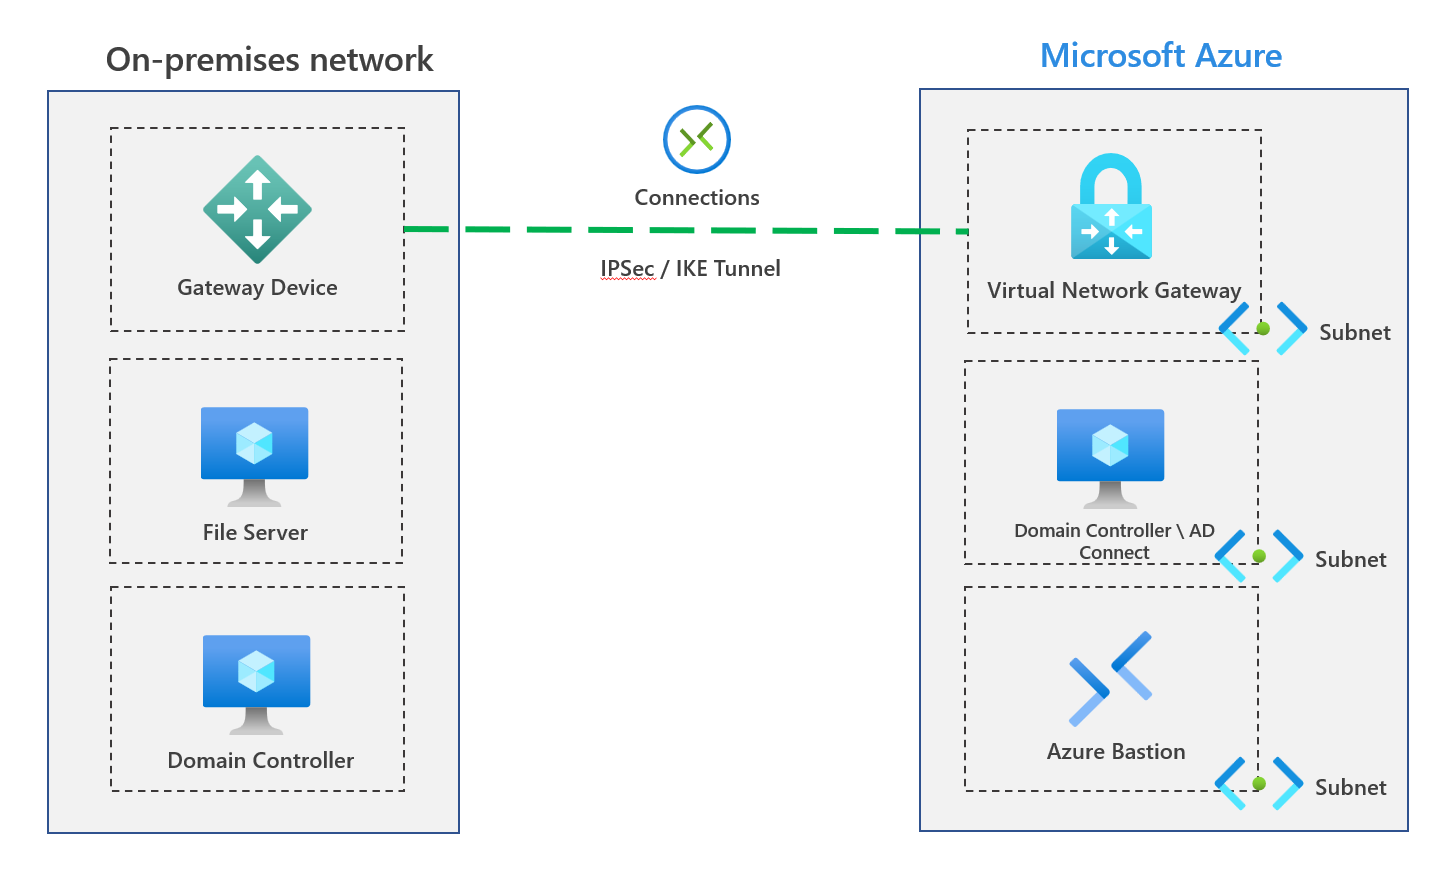
A simple overview of the scenario can be found below. We have an S2S connection from on-premises, which allows us to extend Active Directory Domain Services into Azure - this server also has Azure AD Connect installed.
We are utilising Azure Bastion to access the environment, which provides a secure connection to our virtual machines.
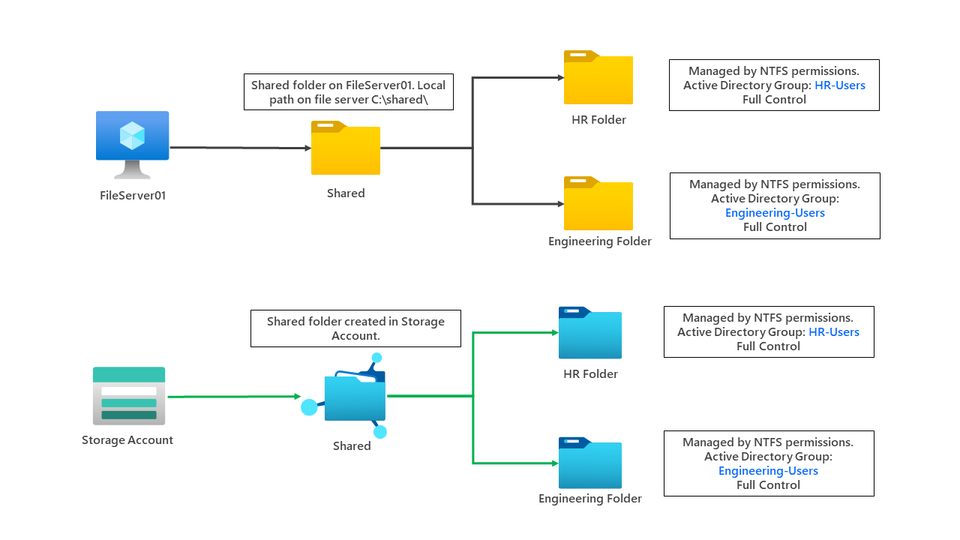
Our file server has a shared folder used by different departments within the organisation. The engineering and HR departments currently have folders controlled by NTFS permissions, specifically Active Directory Groups. I've provided a high-level overview below.

Permission to the engineering and HR folders is only provided via AD groups. We aim to move these folders, permissions and files to an Azure Storage Account. Let's go through the process now.
Storage Account deployment
Let's go through creating a new storage account first. Visit the Azure portal at https://portal.azure.com and select storage accounts > click new. In the first section, you need to decide on the location, the storage account name, the performance tier and the redundancy option you want. You can see my deployment here:
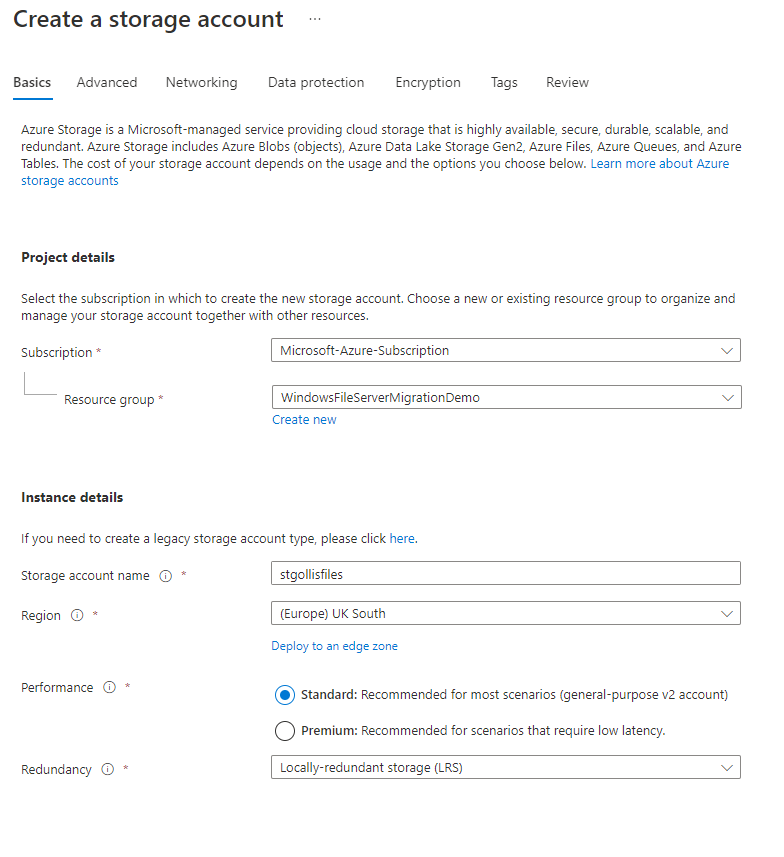
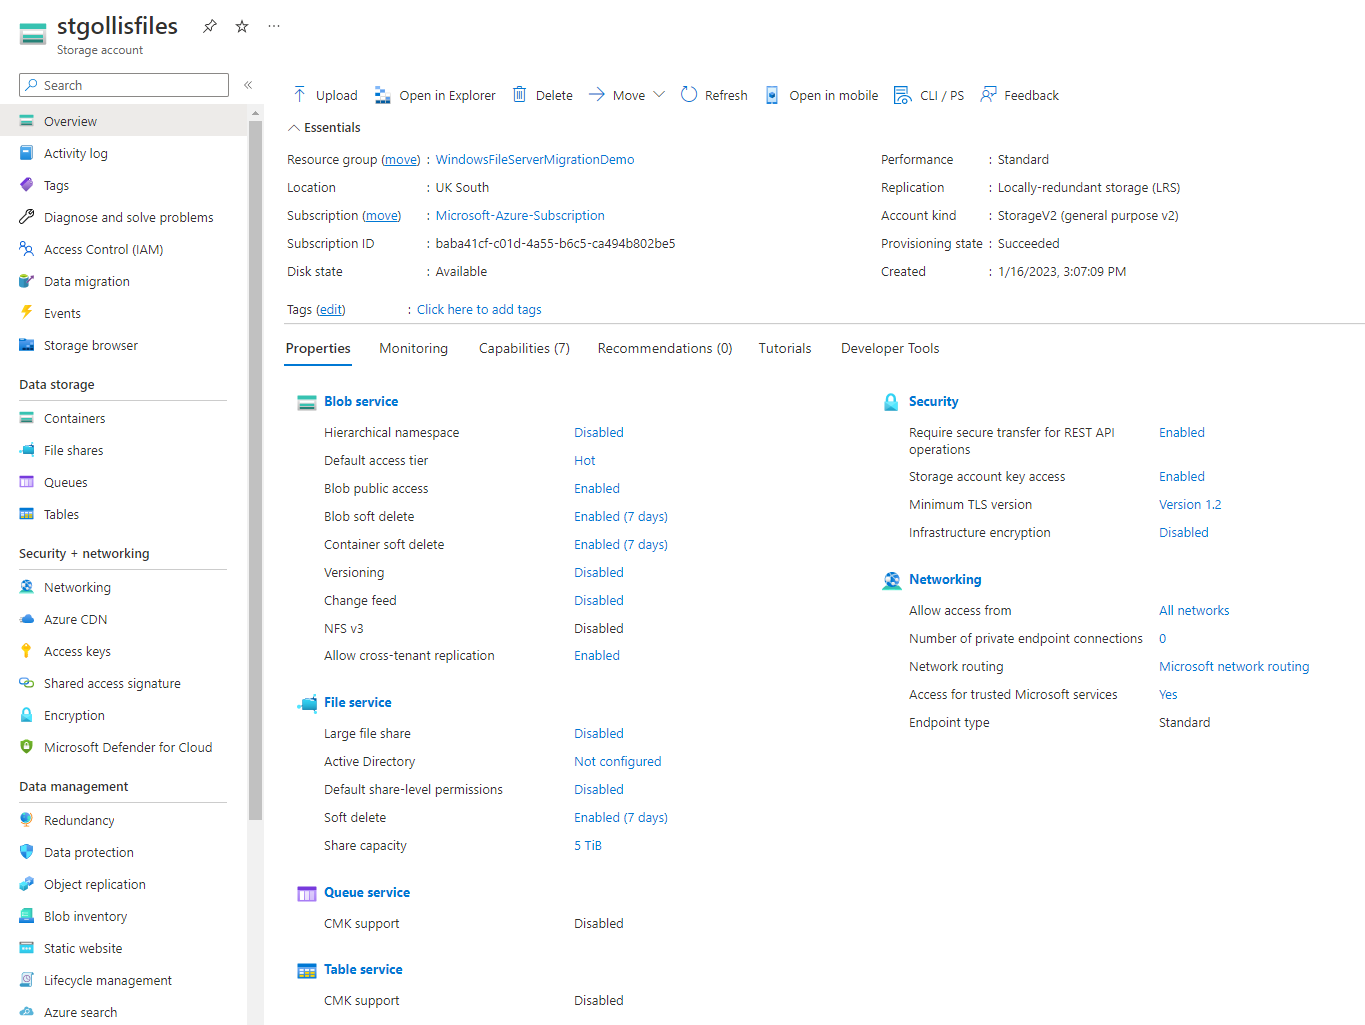
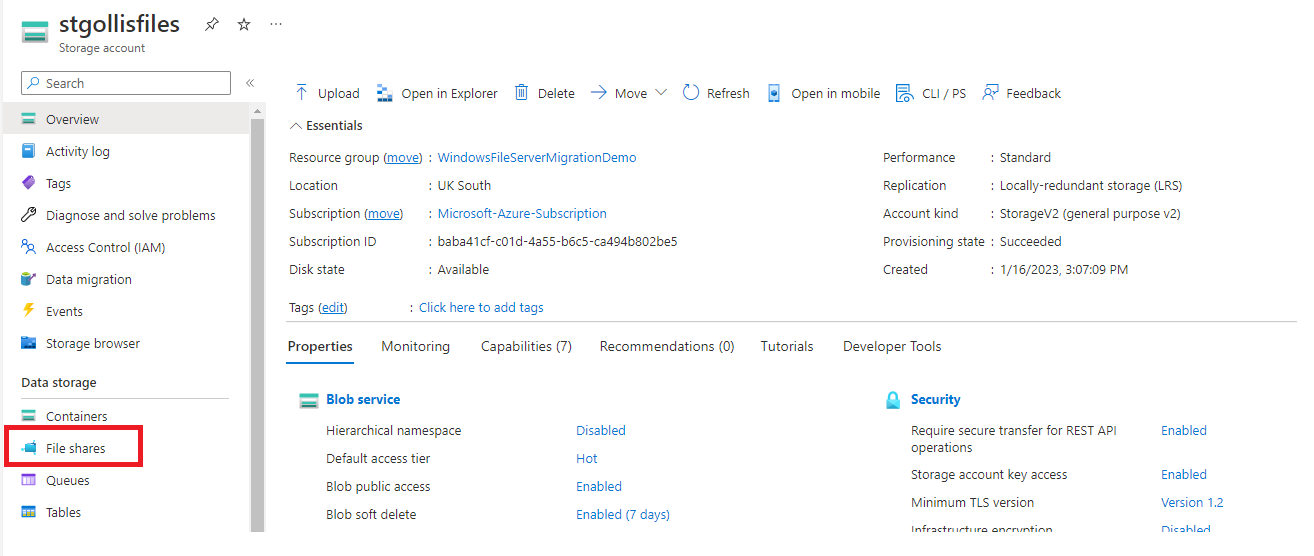
Click review and create, don't go through the other tabs - we will do additional configuration once the storage account has been deployed. We can see the storage account resource within Azure once it's been deployed.
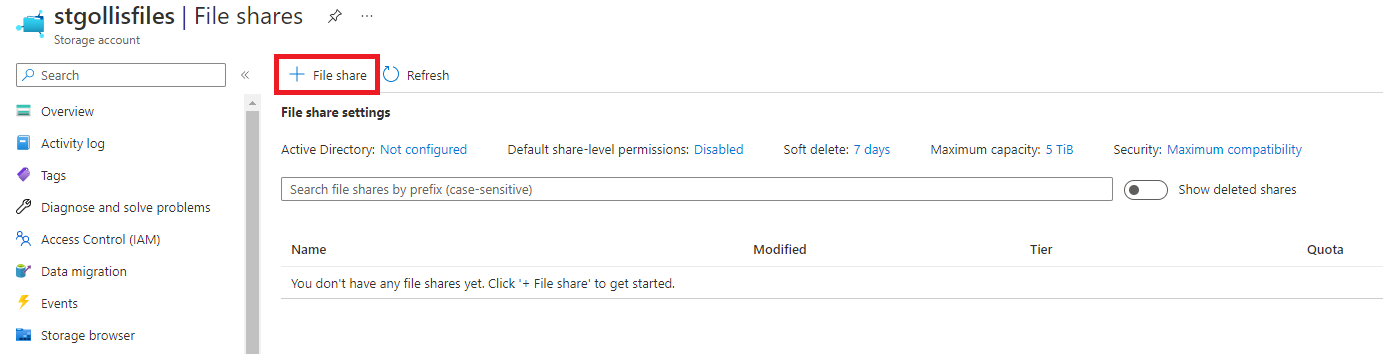
We are using Azure Files. Let's first create a file share in the storage account. Select file shares on the left side.
Click file share.
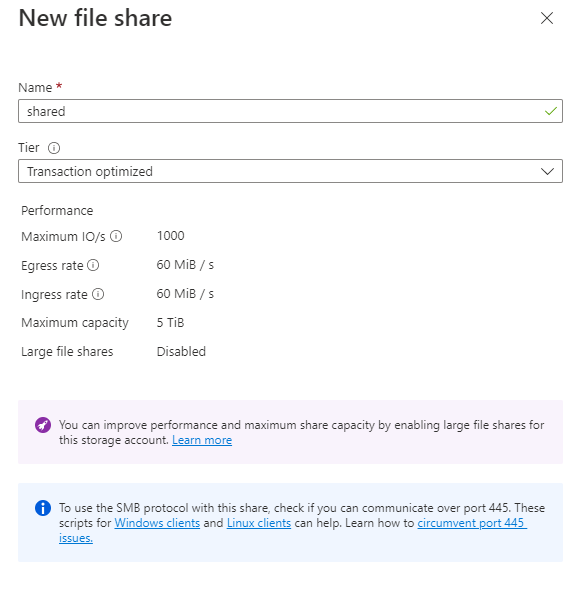
Let's name the file share as it is on the file server. On the file server, the share name is called shared. Click Create when ready.
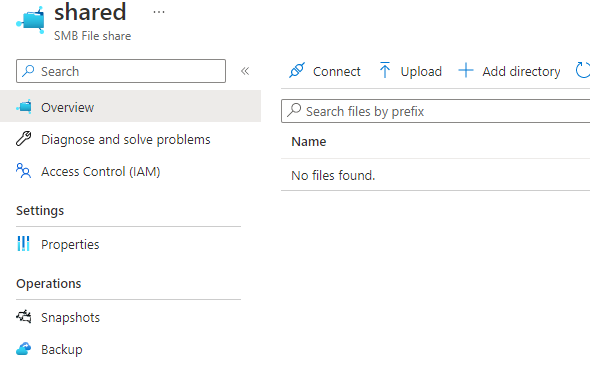
Let's confirm if we can access the storage account share from the client machine. This is possible by clicking on the file share in the storage account and selecting the connect button.
We will connect using the storage account access key for now. You are provided with a PowerShell script to run on the local server. The script will look something like the one below. I've removed the storage account access key to ensuring no one else can access it.
$connectTestResult = Test-NetConnection -ComputerName stgollisfiles.file.core.windows.net -Port 445
if ($connectTestResult.TcpTestSucceeded) {
    # Save the password so the drive will persist on reboot
    cmd.exe /C "cmdkey /add:`"stgollisfiles.file.core.windows.net`" /user:`"localhost\stgollisfiles`" /pass:`"YourStorageAccountKeyHere`""
    # Mount the drive
    New-PSDrive -Name Z -PSProvider FileSystem -Root "\\stgollisfiles.file.core.windows.net\shared" -Persist
} else {
    Write-Error -Message "Unable to reach the Azure storage account via port 445. Check to make sure your organization or ISP is not blocking port 445, or use Azure P2S VPN, Azure S2S VPN, or Express Route to tunnel SMB traffic over a different port."
}
If we first run nslookup and confirm the IP address. You will see we are going to the public IP address of the storage account.
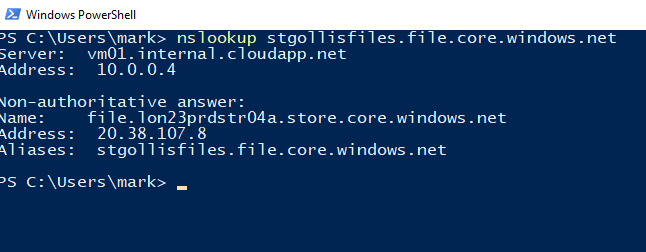
As part of the script provided, it will test if you can access port 445, the port SMB uses for connectivity. It will confirm if you can access the file share.
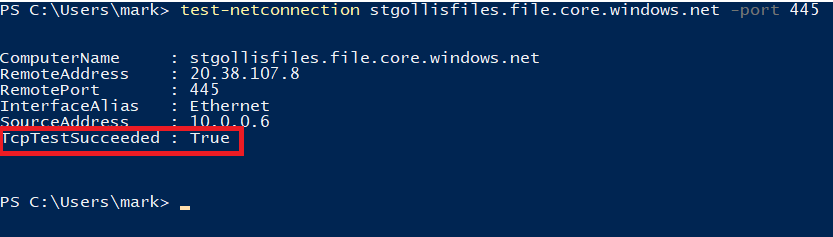
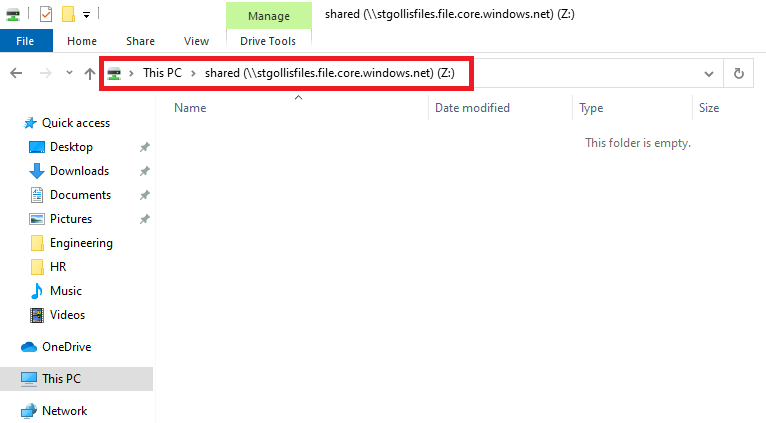
When we run the script - as long as we have access to the storage account via SMB and enable access key authentication, we should have mounted the storage account successfully on our client machine. We can confirm that below.
We've confirmed that it's working currently. Now let's set up AD authentication for the storage account. In our first scenario, we will use the AzFilesHybrid PowerShell module to achieve this.
Downloading AzFilesHybrid
The prerequisites to download AzFilesHybrid can be found below.
- Install it now if you haven't installed .NET Framework 4.7.2 or higher. It's required for the module to import successfully.
- Download and unzip the latest version of the AzFilesHybrid module.
- Install and execute the module on a device that is domain joined to on-premises AD DS with AD DS credentials that have permissions to create a computer account or service logon account in the target AD (such as domain admin).
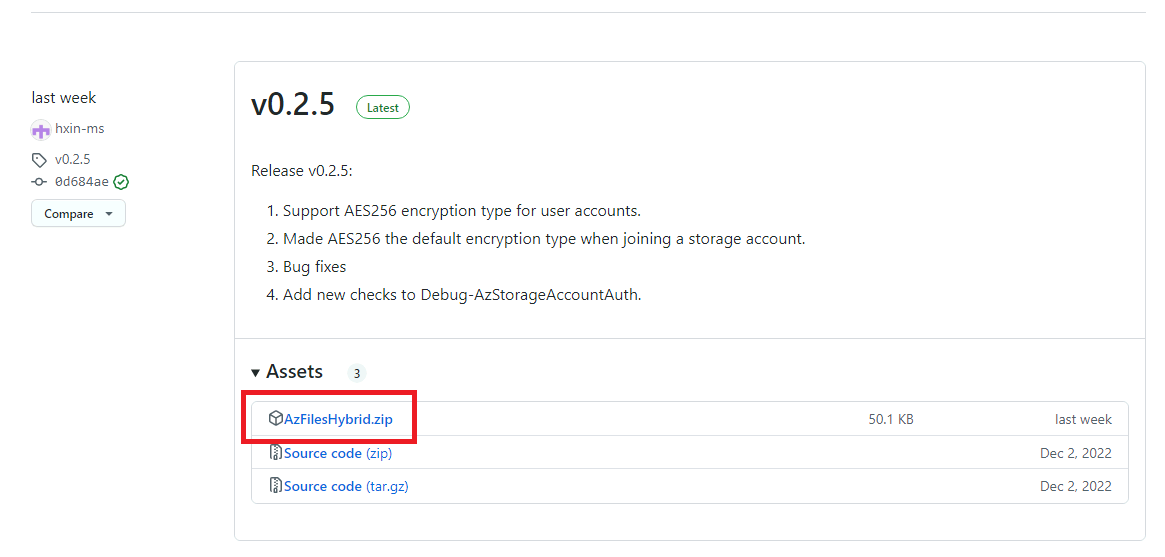
I already have .NET Framework 4.7.2 installed. However, let's go through the process of downloading AzFilesHybrid. Go to the website here to find the zip file for AzFilesHybrid: https://github.com/Azure-Samples/azure-files-samples/releases.
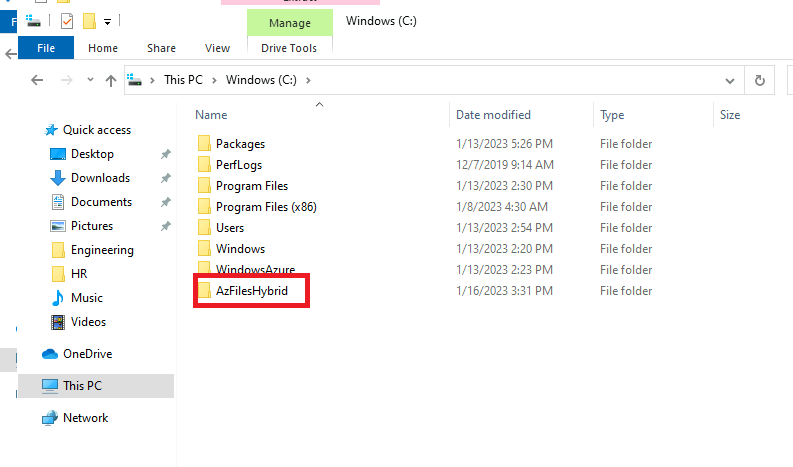
Unzip the file and move it to the C:\ drive.
Open a PowerShell window as an administrator and ensure the user can create a computer account or service logon account in Active Directory.
Run the first command to change directories.
cd c:\AzFilesHybridThe second command to run should change the execution policy for running scripts on the local machine.
Set-ExecutionPolicy -ExecutionPolicy UnrestrictedImport the AzFilesHyrbid module.
import-module .\AzFilesHybrid.ps1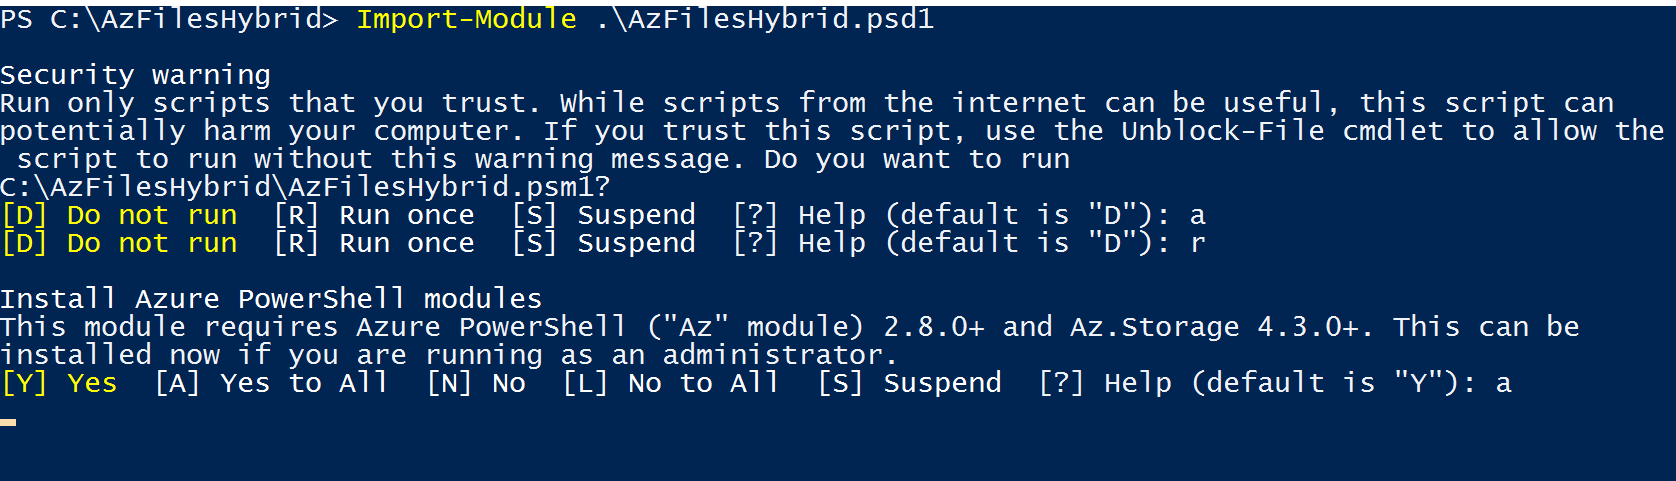
Importing the module will also go through the Az module installation if you have not already installed it. This may take a few minutes.
When all the modules have been installed, you will need to connect to Azure using PowerShell.
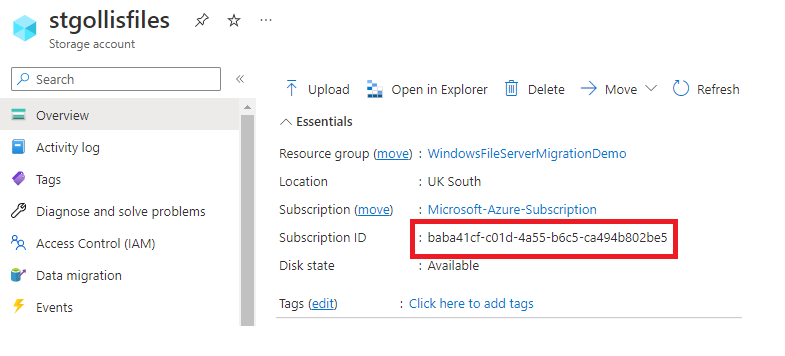
Connect-AzAccountWhen running this command, you will be prompted to login into Azure with your account. When you have signed in successfully, run the Get-AzSubscription command to identify the correct subscription to be in. This subscription needs to be where you deployed the storage account initially.
Get-AzSubscription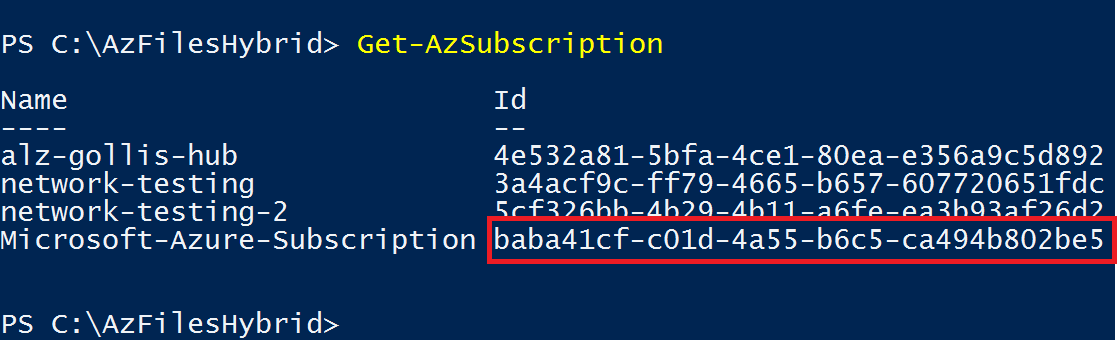
Run the Select-AzSubscription command providing your subscription ID to move into the correct subscription.
Select-AzSubscription "INSERT-SUBSCRIPTION-ID"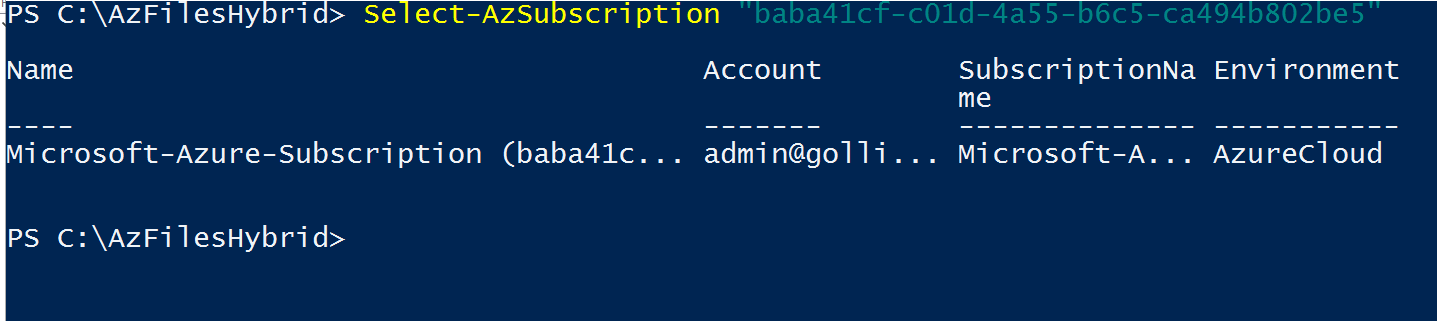
The next step is to declare the variables that we will need.
$ResourceGroupName = "WindowsFileServerMigrationDemo"
$StorageAccountName = "stgollisfiles"
$SamAccountName = "stgollisfiles"
$DomainAccountType = "ComputerAccount"
$OuDistinguishedName = "OU=StorageAccount,DC=gollis,DC=co,DC=uk"
$EncryptionType = "AES256"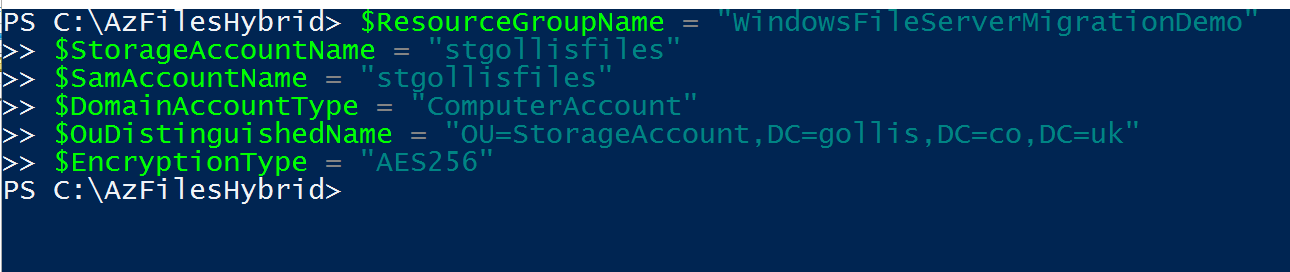
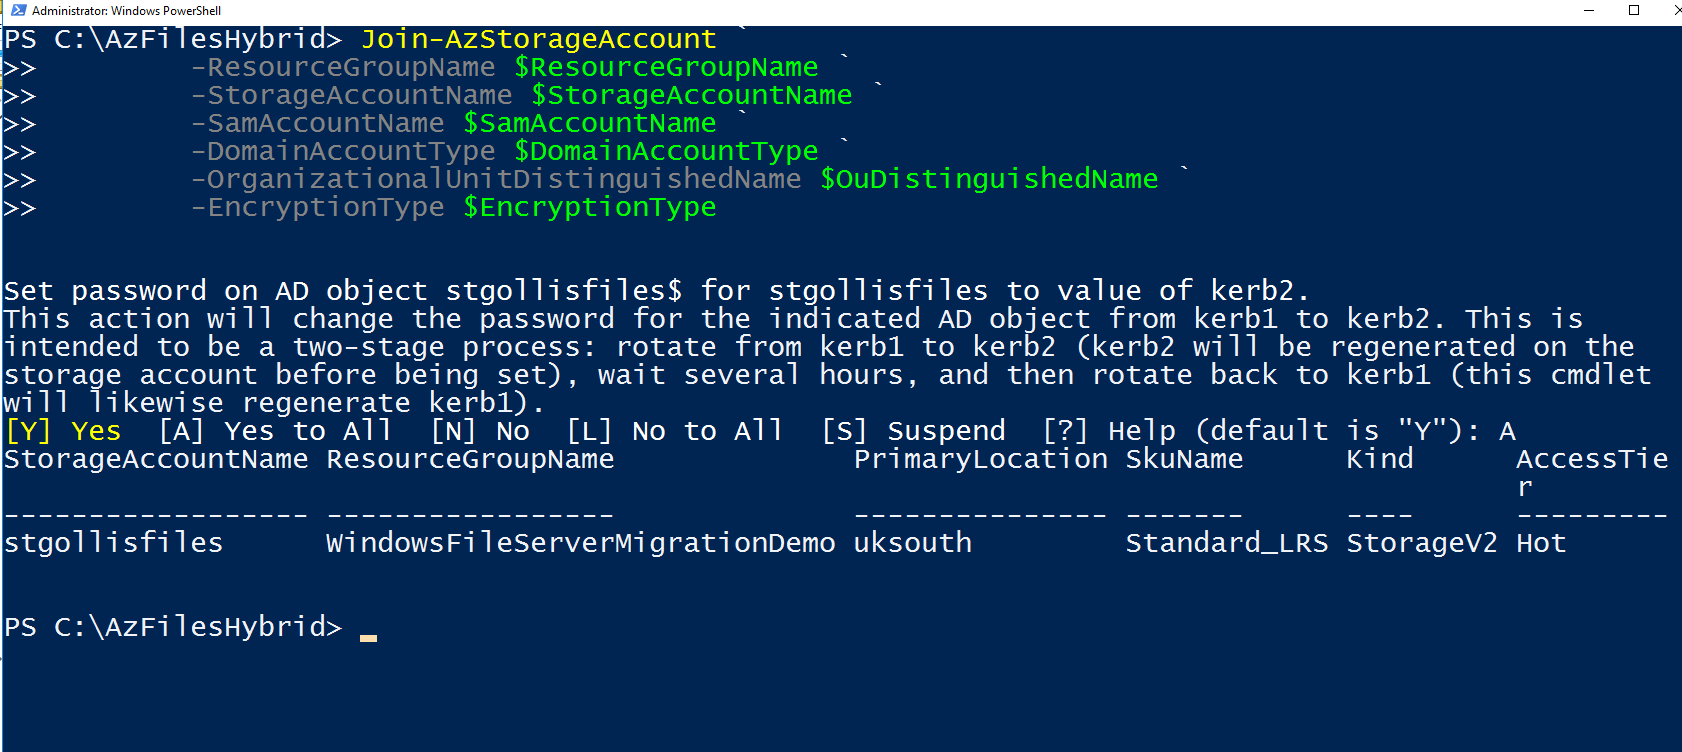
With our variables now stored and ready to be used - we will run the Join-AzStorageAccount command providing the required properties.
Join-AzStorageAccount `
        -ResourceGroupName $ResourceGroupName `
        -StorageAccountName $StorageAccountName `
        -SamAccountName $SamAccountName `
        -DomainAccountType $DomainAccountType `
        -OrganizationalUnitDistinguishedName $OuDistinguishedName `
        -EncryptionType $EncryptionType
If completed - it should return the storage account information.
To confirm if the storage account AD authentication setup has been configured correctly, you can also run the Debug-AzStorageAccountAuth command. It will perform some basic tests.
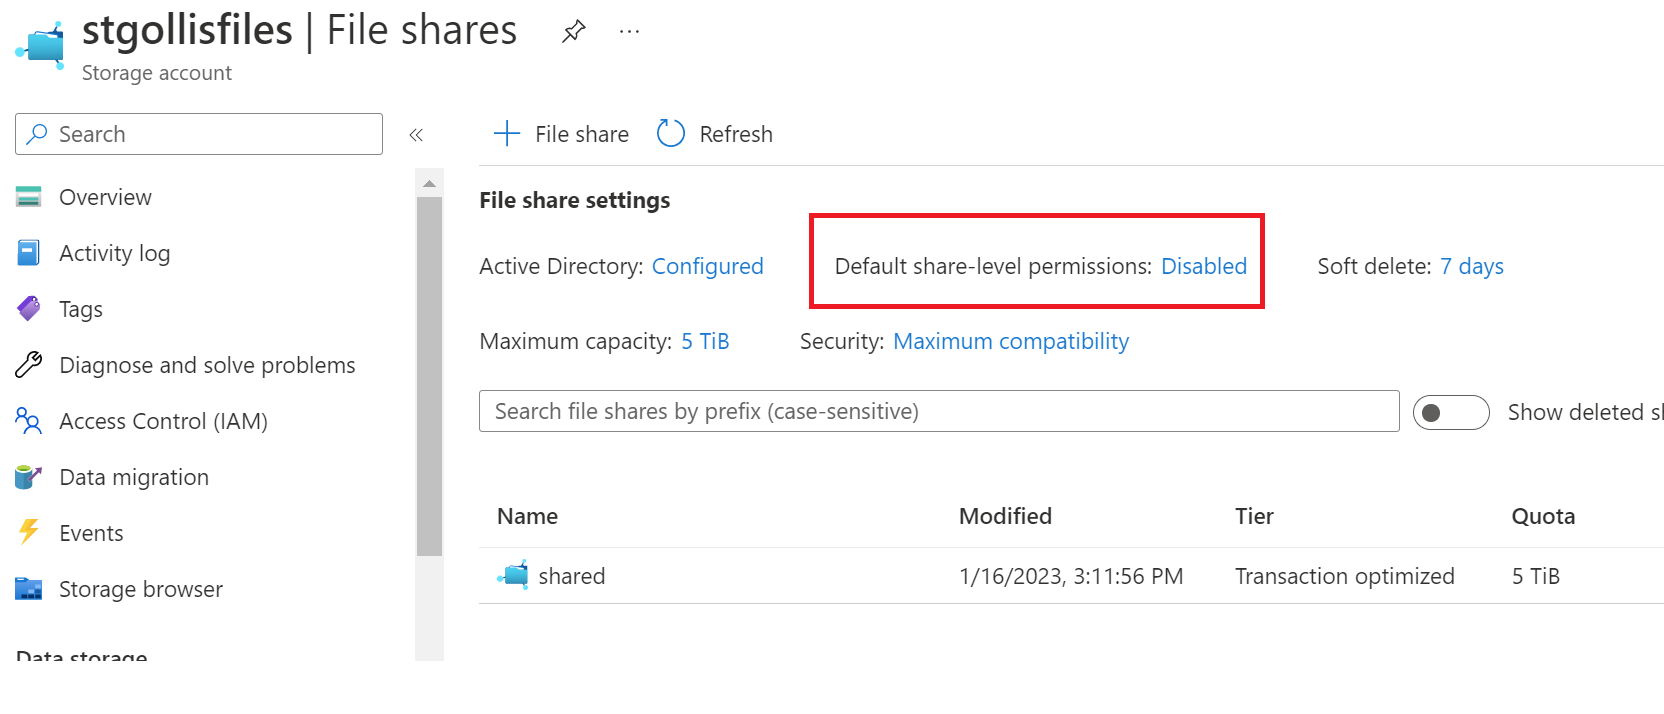
Debug-AzStorageAccountAuth -StorageAccountName $StorageAccountName -ResourceGroupName $ResourceGroupName -VerboseYou can confirm if AD authentication is configured on a storage account by going into the storage account and clicking files.

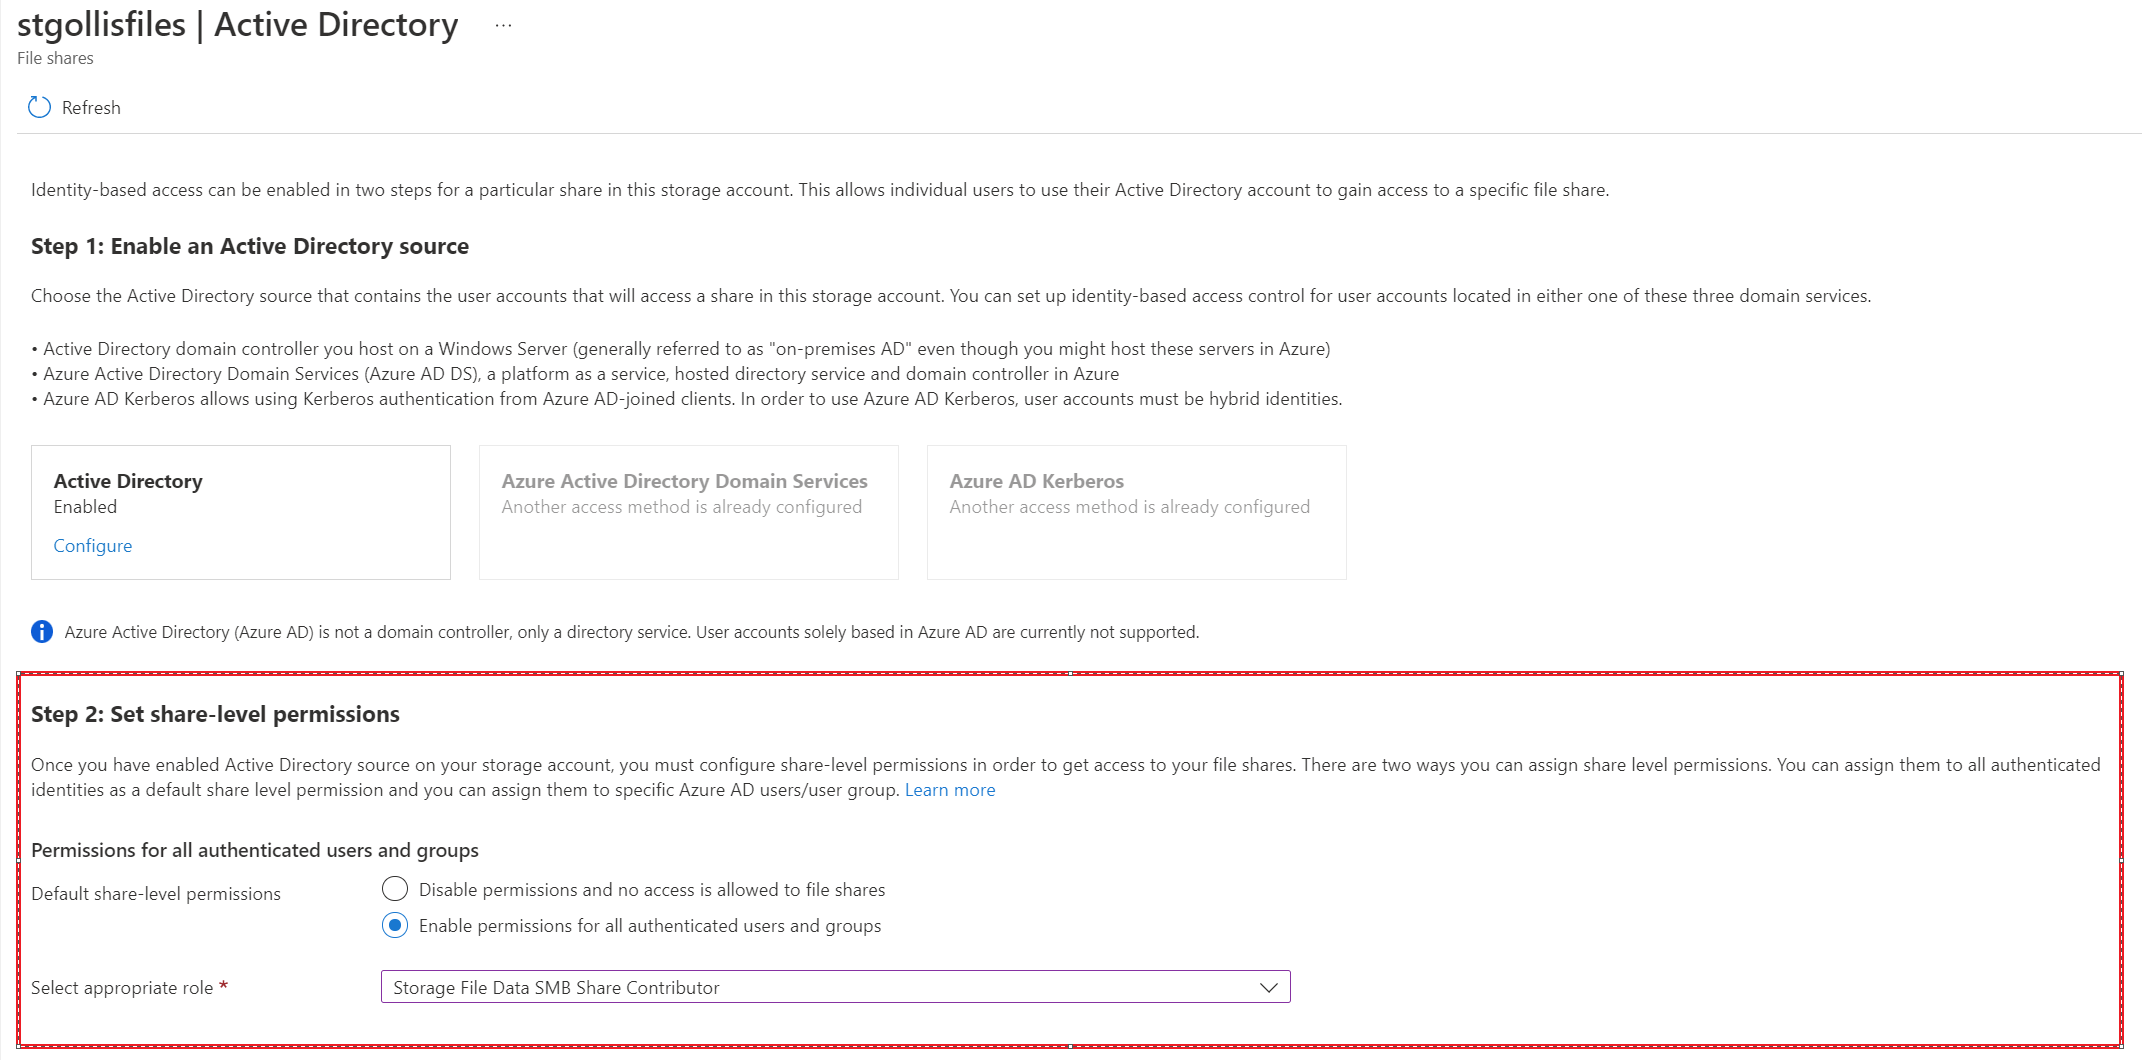
Enable share-level permissions
Once you've enabled an Active Directory (AD) source for your storage account, you must configure share-level permissions to get access to your file share. There are two ways you can assign share-level permissions. You can assign them to specific Azure AD users/groups or assign them to all authenticated identities as a default share-level permission.
We will enable the default share-level permissions. Go to the file shares and select disabled next to the default-share level permissions status.
Enable the default share-level permission and assign the Storage File Data SMB Share Contributor.
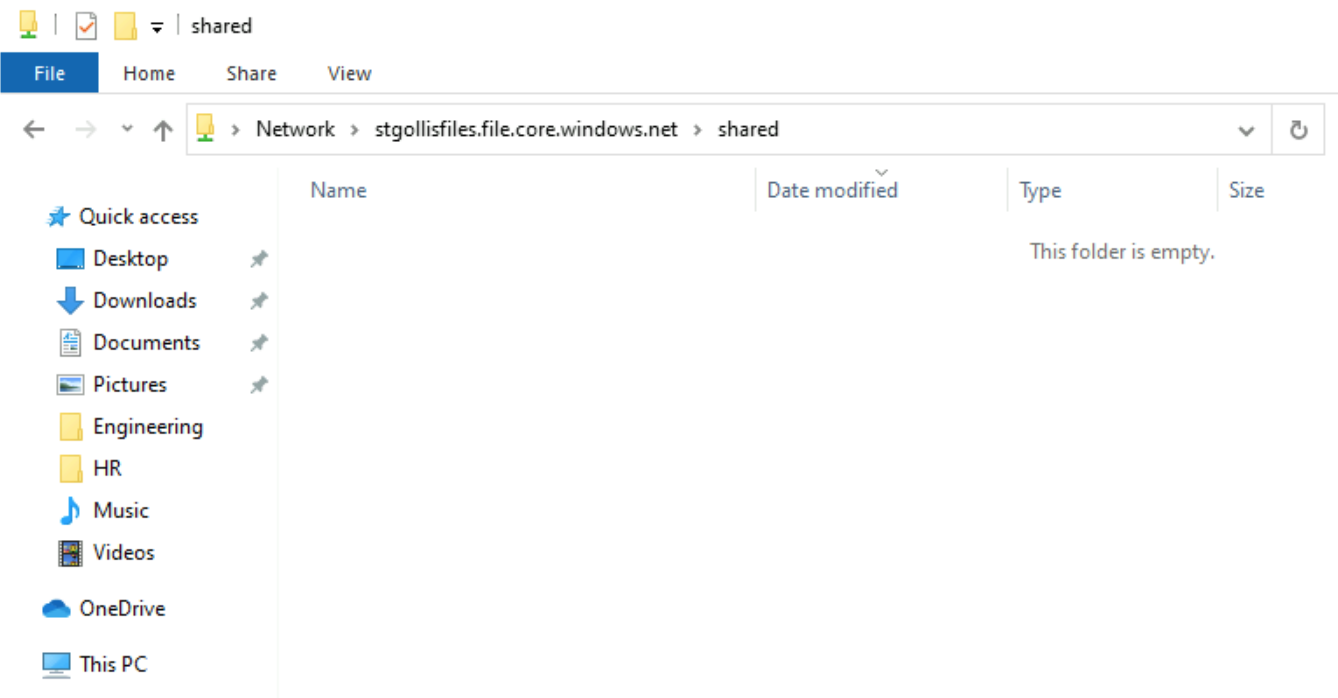
Let's test and confirm if we can access the share now on our client machine using AD authentication and basic share-level permissions.
Let's quickly remove the default share-level permission and test reaccessing the storage account. We are now getting an access denied message.
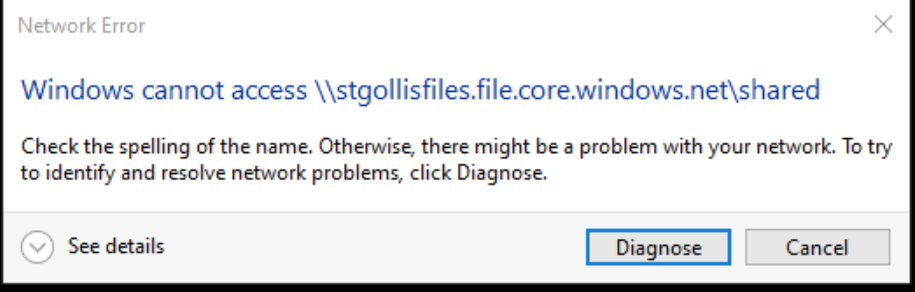
I will now go back and add the default share-level permission, and it automatically starts to work again.
The next step is replicating the data from the file server, including folders, files and permissions. To do this, let's rerun the script from earlier to mount the Azure file using the storage account's access keys. The access key has full permission to the storage account.
$connectTestResult = Test-NetConnection -ComputerName stgollisfiles.file.core.windows.net -Port 445
if ($connectTestResult.TcpTestSucceeded) {
    # Save the password so the drive will persist on reboot
    cmd.exe /C "cmdkey /add:`"stgollisfiles.file.core.windows.net`" /user:`"localhost\stgollisfiles`" /pass:`"YourStorageAccountKeyHere`""
    # Mount the drive
    New-PSDrive -Name Z -PSProvider FileSystem -Root "\\stgollisfiles.file.core.windows.net\shared" -Persist
} else {
    Write-Error -Message "Unable to reach the Azure storage account via port 445. Check to make sure your organization or ISP is not blocking port 445, or use Azure P2S VPN, Azure S2S VPN, or Express Route to tunnel SMB traffic over a different port."
}
Confirmation below that we have mounted the file share successfully.
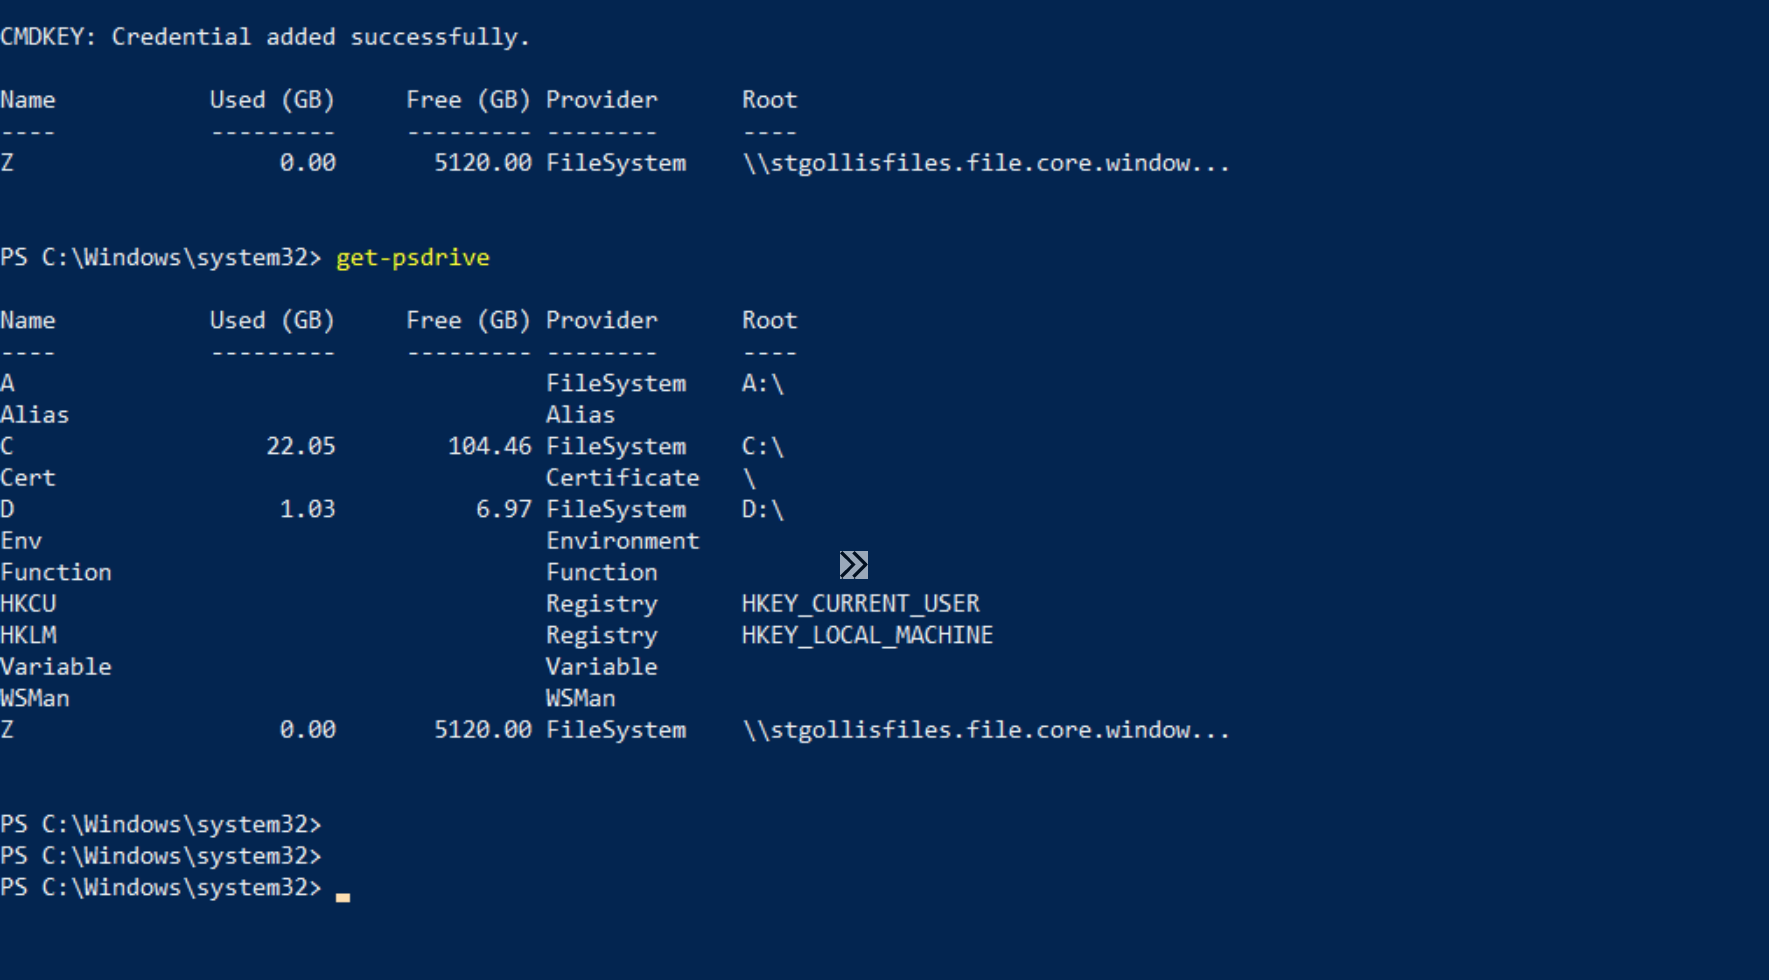
Now it's time to run Robocopy to move the data. The command to move all files, folders and permissions can be found below. The syntax is confusing. However, you can see that \\fileserver01\shared is our source directory and Z: is the destination - this is our drive letter for the storage account. You can see this in the above image.
robocopy \\fileserver01\shared Z: /E /B /COPY:DATSO /DCOPY:DAT /IT /R:1 /W:1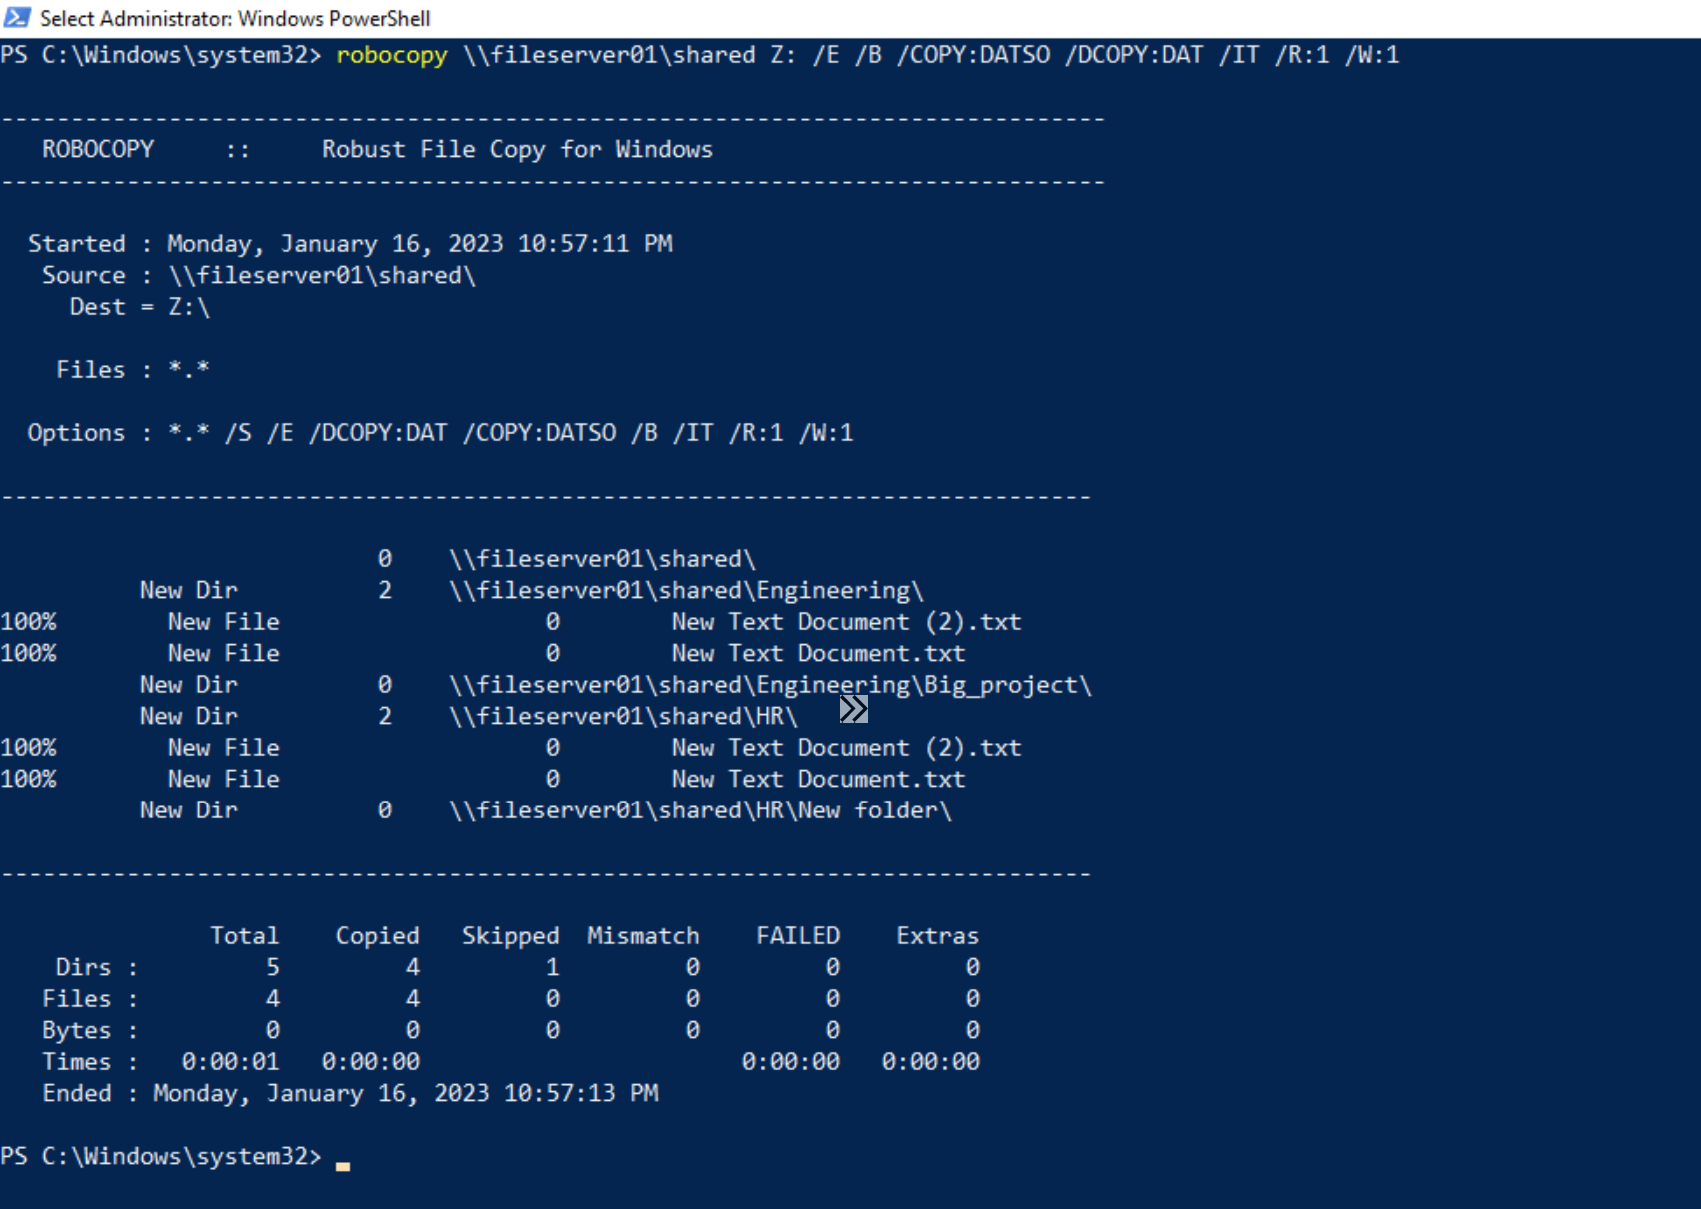
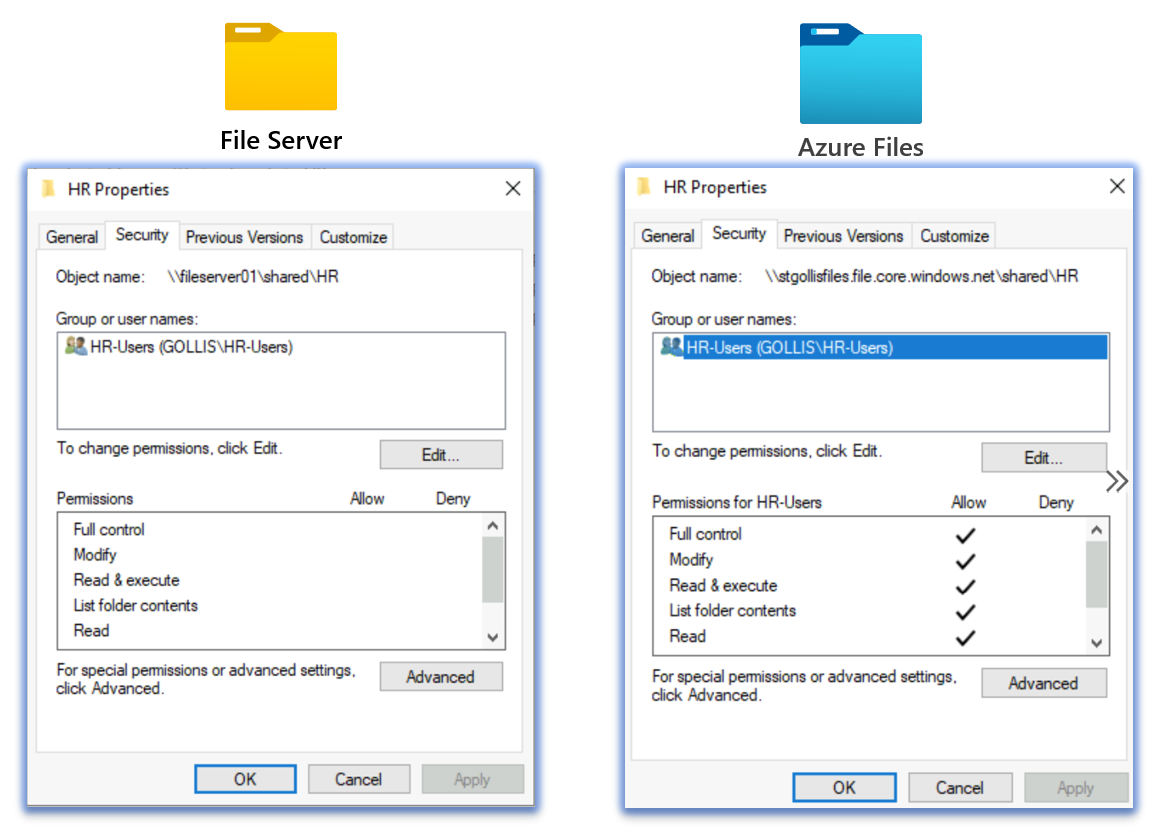
The copy task was completed without any failures, and if I view the permissions on the HR folder and see what the permissions look like, they should be the same from the file server.
Thanks for reading - The next blog will be about DFS-N root consolidation and using Azure Storage. If you have any questions, let me know! Remember, you can connect with me below.